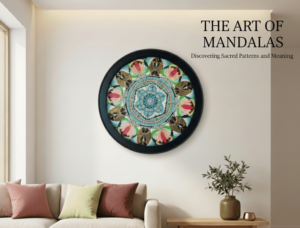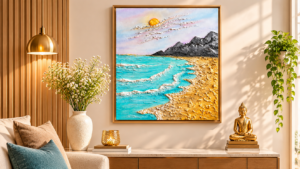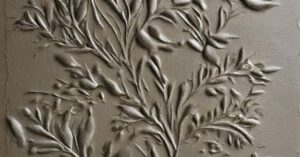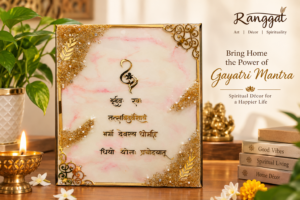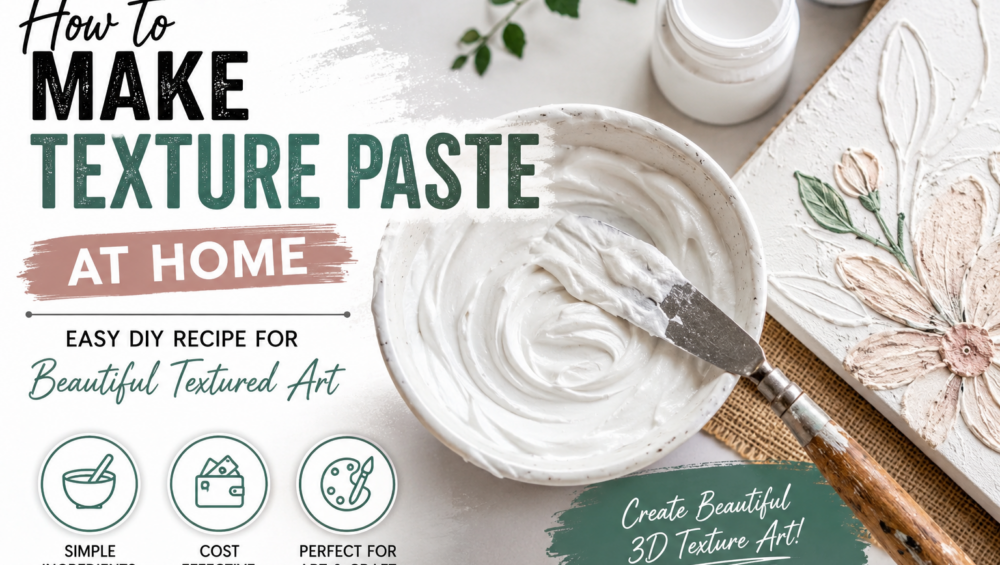
Texture art has become one of the most popular forms of creative expression. From abstract wall art to floral canvas designs, texture paste helps artists create stunning 3D effects and unique patterns. While ready-made texture paste is available in stores, you can easily make your own texture paste at home using simple and affordable ingredients.
In this guide, we’ll show you how to create homemade texture paste and use it to make beautiful textured artwork.
What is Texture Paste?
Texture paste, also known as modeling paste, is a thick medium used in painting and mixed-media art to create raised designs, depth, and dimension on surfaces like canvas, wood, and paper. Artists often use palette knives, stencils, and brushes to shape the paste into creative patterns.
Benefits of Making Texture Paste at Home
- Cost-effective compared to store-bought products
- Easy to prepare with household materials
- Customizable thickness and texture
- Perfect for beginners and professional artists
- Great for canvas art, wall décor, and craft projects
DIY Texture Paste Recipe
Ingredients
- 1 part White PVA Glue
- 1 part Plaster of Paris (POP)
- Small amount of water (if needed)
This simple combination creates a thick, durable paste suitable for textured artwork.
Alternative Recipe
If you don’t have POP, you can use:
- 3 parts Baking Soda
- 1 part PVA Glue
- 1 part Acrylic Paint
This mixture creates a smooth texture paste that works well with stencils and decorative artwork.
Step-by-Step Instructions
Step 1: Mix the Ingredients
Take a clean bowl and combine the glue and Plaster of Paris. Stir thoroughly until the mixture becomes smooth and lump-free.
Step 2: Adjust Consistency
If the paste feels too thick, add a few drops of water and mix again. The ideal consistency should resemble thick frosting.
Step 3: Add Color (Optional)
Mix acrylic paint into the paste if you want colored texture paste. This saves painting time later and creates a more uniform finish.
Step 4: Apply to Your Surface
Use a palette knife, spatula, or stencil to apply the texture paste to canvas, MDF boards, wood panels, or craft surfaces.
Step 5: Let It Dry
Allow the artwork to dry completely. Drying time depends on the thickness of the application, but most textured designs dry within 12–24 hours.
Creative Ways to Use Texture Paste
1. Floral Texture Art
Create elegant flowers and petals using a palette knife. This style is widely used in modern home décor.
2. Abstract Wall Art
Experiment with waves, curves, and geometric patterns to create luxury textured paintings.
3. Stencil Designs
Apply texture paste through stencils to create precise and professional-looking patterns.
4. Mixed Media Projects
Combine texture paste with paints, metallic finishes, and decorative elements for unique artwork.
Tips for Best Results
- Use fresh texture paste immediately after mixing.
- Avoid adding too much water.
- Work on sturdy surfaces like canvas or wood.
- Allow complete drying before painting.
- Seal finished artwork with a protective varnish for durability.
Common Mistakes to Avoid
- Making the paste too watery
- Applying overly thick layers that may crack
- Painting before the paste has fully dried
- Using weak or low-quality glue
Making texture paste at home is simple, affordable, and incredibly rewarding. With just a few basic ingredients, you can create beautiful textured paintings, wall décor pieces, and creative craft projects. Whether you’re a beginner exploring textured art or an experienced artist looking to save costs, homemade texture paste is an excellent solution.
At Ranggat, we believe creativity should be accessible to everyone. Try this DIY texture paste recipe today and transform ordinary canvases into stunning works of art.