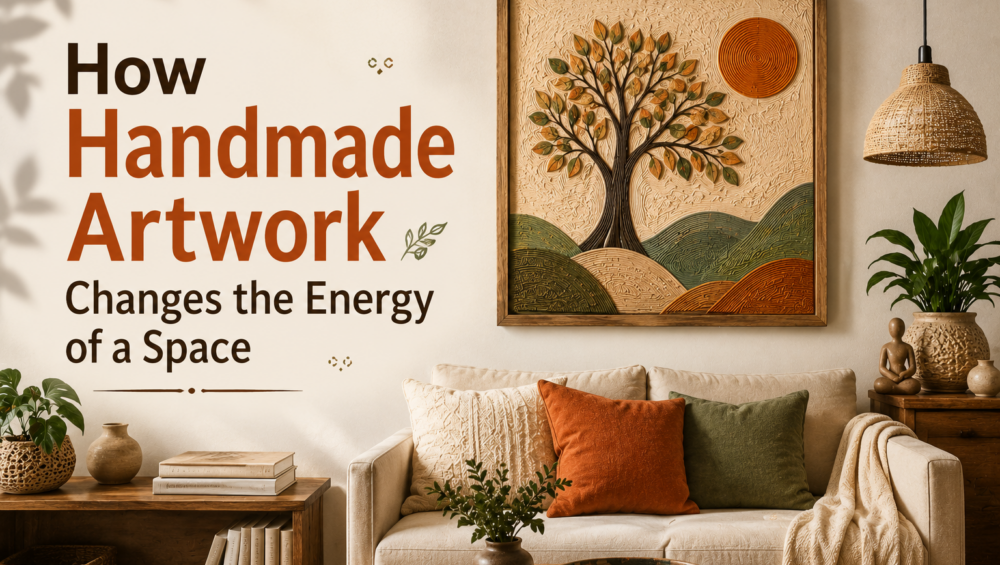
Texture is one of the most powerful elements of art. It adds depth, dimension, and visual interest to paintings, sculptures, mixed media projects, and home décor. Whether you’re a beginner experimenting with acrylic paints or a professional artist creating gallery-worthy masterpieces, understanding different texture art techniques can elevate your artwork to the next level.
In this comprehensive guide, we’ll explore various texture art techniques, the tools required, popular materials, and tips for creating stunning textured artwork.
What is Texture Art?
Texture art refers to artwork that incorporates raised, rough, smooth, or three-dimensional surfaces to create visual and tactile appeal. Unlike flat paintings, texture art engages viewers by adding physical depth and unique surface patterns.
There are two main types of texture in art:
Actual Texture
This is the physical texture you can touch and feel. Artists create it using thick paint, modeling paste, sand, fabric, paper, plaster, or other materials.
Visual Texture
Visual texture is an illusion of texture created using painting techniques, shading, brushwork, and color contrasts without actually changing the surface.
Why is Texture Important in Art?
Texture enhances artwork by:
- Creating depth and dimension
- Making paintings more expressive
- Adding realism
- Highlighting focal points
- Increasing visual interest
- Improving light reflection
- Giving a luxurious appearance
- Making artwork unique
Different Types of Texture Art Techniques
1. Impasto Technique
Impasto is one of the most famous texture techniques where paint is applied thickly so brush or palette knife marks remain visible.
Materials
- Heavy body acrylic paint
- Oil paint
- Palette knife
- Thick brushes
Best For
- Landscapes
- Floral paintings
- Abstract art
- Portraits
Advantages
- Strong texture
- Rich color appearance
- Dramatic lighting effects
2. Palette Knife Painting
Instead of brushes, artists use a palette knife to spread thick paint across the canvas.
Popular Effects
- Mountains
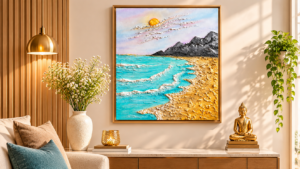
- Ocean waves
- Flowers
- Cityscapes
- Modern abstract art
Tips
- Use thick acrylic paints.
- Apply multiple layers.
- Let each layer partially dry before adding details.
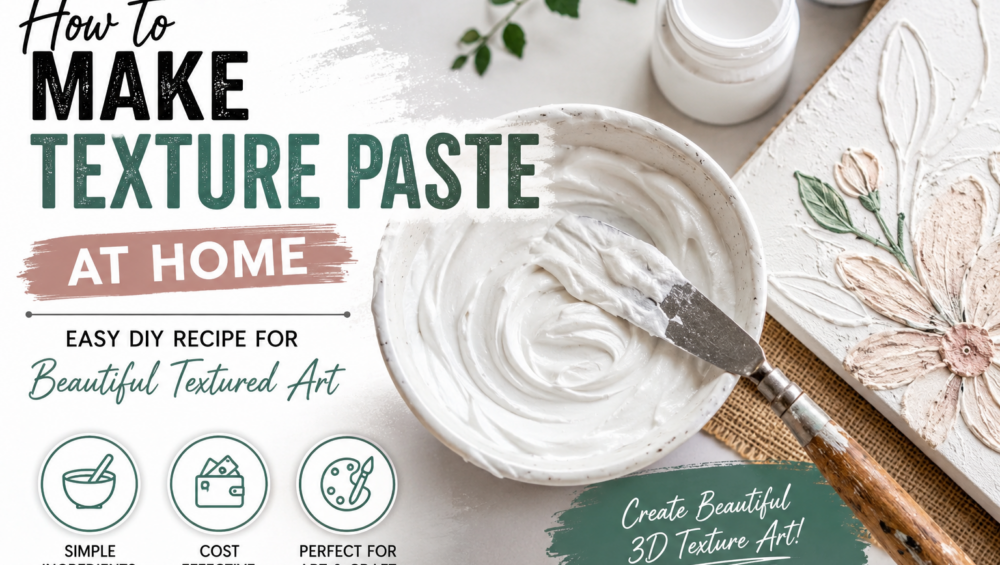
3. Modeling Paste Technique
Modeling paste is a thick medium used to create raised surfaces before painting.
Features
- Lightweight
- Paintable after drying
- Highly durable
Common Designs
- Floral relief
- Geometric patterns
- Mandalas
- Wall décor
4. Plaster Texture Art
Plaster art has become increasingly popular in modern interior decoration.
Materials
- Plaster
- Joint compound
- Putty
- Trowel
- Palette knife
Perfect For
- Luxury wall art
- Neutral décor
- Minimalist interiors
5. Sand Texture Technique
Adding fine sand to paint creates a rough and natural-looking surface.
Applications
- Beach scenes
- Desert landscapes
- Nature paintings
- Rustic décor
6. Sponge Texture Technique
A sponge creates random patterns and organic textures.
Effects
- Clouds
- Stone walls
- Water reflections
- Background textures
Best Paint
- Acrylic paint
7. Dry Brush Technique
A nearly dry brush with minimal paint creates rough, scratchy textures.
Used For
- Wood grain
- Fur
- Hair
- Grass
- Rocks
8. Sgraffito Technique
This technique involves scratching through wet paint or plaster to reveal the layer beneath.
Tools
- Stylus
- Wooden stick
- Palette knife
Popular Designs
- Abstract art
- Decorative patterns
- Portrait detailing
9. Collage Texture Art
Artists attach different materials onto the canvas.
Materials
- Paper
- Fabric
- Lace
- Rope
- Leaves
- Newspapers
- Cardboard
Benefits
- Highly creative
- Mixed media possibilities
- Unique compositions
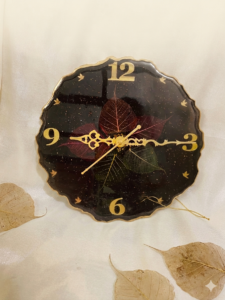
10. Resin Texture Art
Resin creates glossy surfaces with layered depth.
Popular Uses
- Ocean art
- Geode art
- River tables
- Luxury wall décor
Safety Tip
Always work in a well-ventilated area and wear protective gloves when handling resin.
11. Crackle Texture Technique
Crackle mediums create an aged, vintage appearance with cracked surfaces.
Suitable For
- Antique-style paintings
- Furniture
- Decorative wall art
12. Stencil Texture Technique
Texture paste is applied through reusable stencils.
Common Designs
- Floral
- Geometric
- Mandala
- Leaves
- Abstract patterns
13. String Pull Technique
Paint-covered strings are pulled across the canvas to create flowing organic patterns.
Ideal For
- Flowers
- Feathers
- Abstract art
14. Bubble Wrap Printing
Bubble wrap is coated with paint and pressed onto the canvas.
Creates
- Circular textures
- Fun backgrounds
- Children’s artwork
- Modern abstract effects
15. Comb Texture Technique
Artists drag a comb through wet paint or texture paste.
Effects
- Waves
- Hair
- Grass
- Parallel line designs
16. Fabric Texture Technique
Fabric pieces are embedded into texture mediums for unique raised effects.
Popular Materials
- Cotton
- Burlap
- Lace
- Cheesecloth
17. Marble Texture Technique
Special pouring techniques imitate natural marble.
Common Colors
- White
- Black
- Gold
- Grey
- Emerald Green
18. Pouring Technique
Fluid acrylic paints are poured to create flowing patterns.
Variations
- Dirty pour
- Flip cup
- Dutch pour
- Swipe technique
- Ring pour
19. Salt Texture Technique
Salt sprinkled on wet watercolor absorbs pigment, creating beautiful crystalline effects.
Best For
- Snow
- Sky
- Galaxy paintings
- Watercolor backgrounds
20. Mixed Media Texture
Mixed media combines several techniques and materials in one artwork.
Materials
- Acrylic paint
- Modeling paste
- Paper
- Fabric
- Metal embellishments
- Beads
- Sand
- Wood
Essential Tools for Texture Art
To explore texture techniques effectively, you’ll typically need:
- Canvas
- Palette knives
- Acrylic paints
- Heavy body paints
- Modeling paste
- Texture paste
- Gesso
- Brushes
- Sponges
- Stencils
- Sandpaper
- Joint compound
- Plaster
- Resin (for advanced projects)
- Spray bottles
- Scrapers
- Combs
- Texture rollers
Tips for Beginners
- Start with simple acrylic texture techniques before trying advanced materials.
- Practice on small canvases to understand how different mediums behave.
- Build texture gradually in layers instead of applying everything at once.
- Allow each layer to dry completely before adding new details.
- Experiment with different tools to create unique patterns.
- Use a limited color palette while learning to focus on texture rather than color complexity.
- Seal finished artwork with a suitable varnish to protect the surface.
Common Mistakes to Avoid
- Applying texture too thickly without proper drying time
- Mixing incompatible art mediums
- Overworking wet textures
- Using low-quality materials for structural elements
- Skipping surface preparation with gesso when needed
- Ignoring drying and curing times
- Neglecting safety precautions when using resin or solvents
Best Texture Technique for Beginners
If you’re just starting, these techniques are easy to learn and highly rewarding:
- Palette Knife Painting
- Modeling Paste
- Sponge Texture
- Dry Brush
- Acrylic Pouring
- Stencil Texture
- Bubble Wrap Printing
These methods require minimal experience and help you quickly understand how texture changes the look and feel of an artwork.
Texture art opens up endless creative possibilities by transforming flat surfaces into dynamic, expressive works. From the bold strokes of impasto to the refined elegance of plaster relief and the fluid beauty of acrylic pouring, each technique offers a distinct visual impact. By experimenting with different materials, tools, and layering methods, artists of all skill levels can develop their own signature style.
Whether your goal is to create modern wall décor, abstract paintings, realistic landscapes, or mixed media masterpieces, mastering texture techniques will help your artwork stand out with depth, character, and originality.
Ranggat – Where creativity meets craftsmanship.