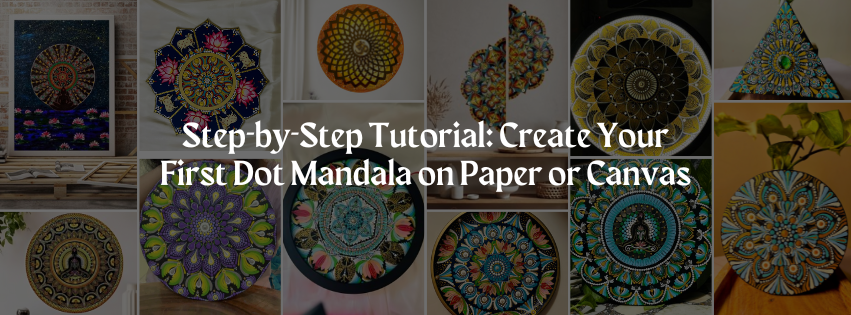
Dot mandala painting is a beautiful blend of creativity, patience, and accuracy. Mandalas, originating from ancient spiritual traditions, have developed into a contemporary art form that involves meditation. This detailed guide will walk you through how to create your first dot mandala on paper or canvas, even if you’re an absolute beginner.
This article will give you the best materials, techniques, and advice for painting dot mandalas, whether your goal is aesthetic beauty, spiritual connection, or relaxation.
What is a Dot Mandala?
A dot mandala is a circular shape made up of only dots arranged in symmetrical, repeating patterns. Mandalas are a traditional spiritual artwork that represents the universe, spiritual harmony, and inner peace. The dotting technique gives this ancient art form a unique, modern edge.
Essential Supplies for Dot Mandala Painting
To start creating your dot mandala, collect the following materials:
1. Surface
- Paper: Use watercolor paper, mixed-media paper, or thick cardstock.
- Canvas: Select a smooth, primed canvas or canvas board.
2. Paint
- Acrylic paint is ideal due to its quick drying time and vibrant finish.
3. Dotting Tools
- Dotting stylus or tools
- Toothpicks, paintbrush ends, bobby pins, skewers, and earphones are examples of household alternatives.
4. Accessories
- Compass (for perfect circles)
- Ruler and pencil (to draw grid lines)
- Paint palette or small dishes
- Cloth or tissue for cleaning tools
- Water container (for cleaning)
Step-by-Step Guide: How to Create a Dot Mandala
Follow this beginner-friendly dot mandala tutorial:
Step 1: Prepare Your Surface
Wipe your paper or canvas to remove dust. Before painting, make sure everything is completely flat and dry.
Step 2: Mark the Center and Guidelines
Draw a line that intersects in the middle, both vertically and horizontally, using a ruler. Next, make concentric circles with a compass or round objects (such as bowls or bottle caps). These will act as your guide.
Tip: Start with 4-6 circles spaced evenly around the center point.
Step 3: Select Your Color Palette
Select a color scheme, such as rainbow gradients, complementary shades, or monochromatic (several shades of the same color). Choose your colors according to how you plan to utilize them.
Step 4: Start Dotting from the Center
Make a central dot in the paint using your smallest dotting tool. This is your focal point. Then, using medium or large tools, place dots in a circular pattern around it, following your guidelines.
Pro Tip: Maintain equal spacing between dots to keep your mandala symmetrical.
Step 5: Build Outward with Larger Patterns
Make your dots different in size and color as you move away from the center. To make complex patterns, use smaller dots in between larger ones. Another option is layering: after drying, place a tiny dot on top of a larger one.
Step 6: Drying and Finishing Touches
Allow the painting to dry thoroughly. If using paper, consider framing it. For protection and shine, you can use a clear varnish on a canvas.
Creative Dot Mandala Design Ideas for Beginners
- Sunburst Mandala: Bright colors radiating outward like sunrays.
- Lotus-Inspired Mandala: Use dot clusters to mimic lotus petals.
- Galaxy Mandala: For a cosmic look, blend blacks, blues, and purples with white highlights.
- Tribal Mandala: Earthy tones with bold geometric dot patterns.
Benefits of Dot Mandala Painting
Dot mandala painting isn’t just about art—it has therapeutic benefits:
- Reduces stress and anxiety
- Boosts focus and patience
- Encourages mindfulness
- Improves hand-eye coordination
- Enhances creativity and color sense
Creating your first dot mandala on canvas or paper is a therapeutic and encouraging journey. You may create a work of art that is both soothing and captivating with just a few basic tools and a little paint. Enjoy the process—every dot is a step toward inner peace and artistic growth.
Ready to start? Just pick up your dotting tools and let your creativity flow—one dot at a time.