Dot mandala art, which combines creativity, mindfulness, and eye-catching visual appeal, has swept the creative world. Gaining proficiency in dot mandala techniques can lead to a whole new level of artistic fulfillment, regardless of your level of experience. We’ll go over key pointers, methods, and strategies in this post to assist you in producing beautiful dot mandala paintings.
What is a Dot Mandala?
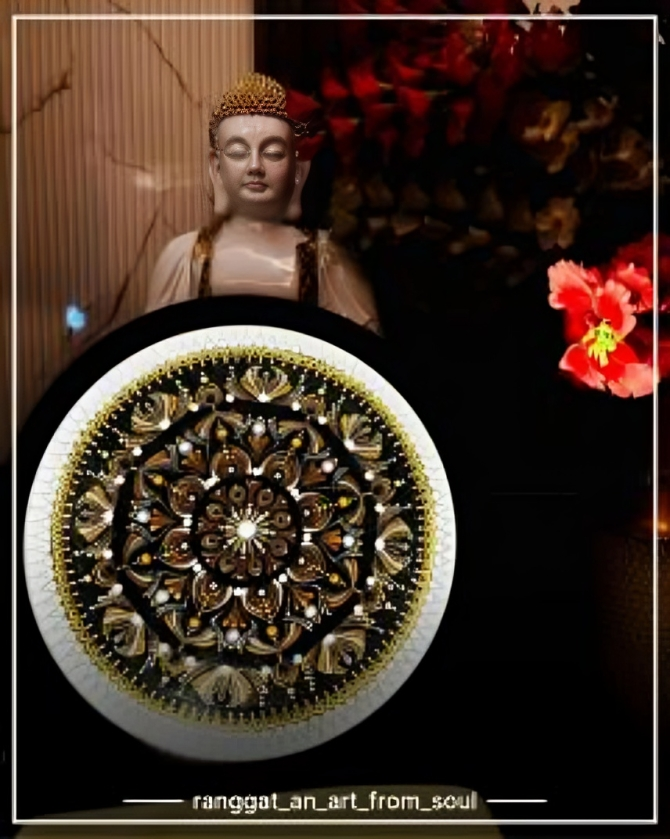
Dots of different sizes and colors are arranged in complex patterns to produce a dot mandala, a type of circular art. Dot mandalas, in contrast to traditional mandalas, are constructed with styluses, brushes, or even commonplace objects like cotton swabs or toothpicks. Every dot is deliberately placed to create symmetrical and captivating patterns.
Dot mandalas are calming in addition to being aesthetically beautiful. Dotting is a repetitive activity that can encourage mindfulness and relaxation.
Essential Tools for Dot Mandala Painting
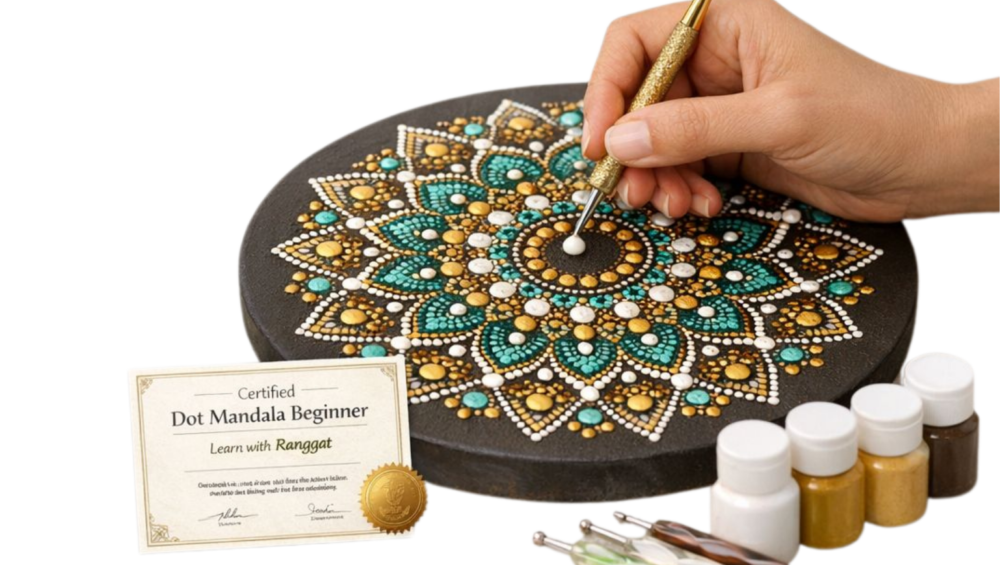
Before diving into techniques, it’s important to have the right tools:
- Dotting tools: Available in different sizes for creating varied dots.
- Acrylic paints: Vibrant, quick-drying, and easy to layer.
- Canvas, rocks, or wood: Surfaces suitable for dot painting.
- Compass and pencil: To sketch your circular guide before dotting.
- Toothpicks, Q-tips, or stylus substitutes: Great for smaller or more intricate dots.
Techniques to Master Dot Mandala Art
1. Start with a Base Design
- Lightly sketch a circle or basic mandala structure on your canvas.
- Use radial symmetry: divide your circle into even sections to guide dot placement.
2. Layering Colors
- Start with the largest dots at the center.
- Gradually move outward, reducing dot size for a detailed look.
- Layer contrasting colors to make patterns pop.
3. Vary Dot Sizes
- Use different tools or tip sizes to create depth and dimension.
- Large dots create bold patterns, while small dots add intricate detailing.
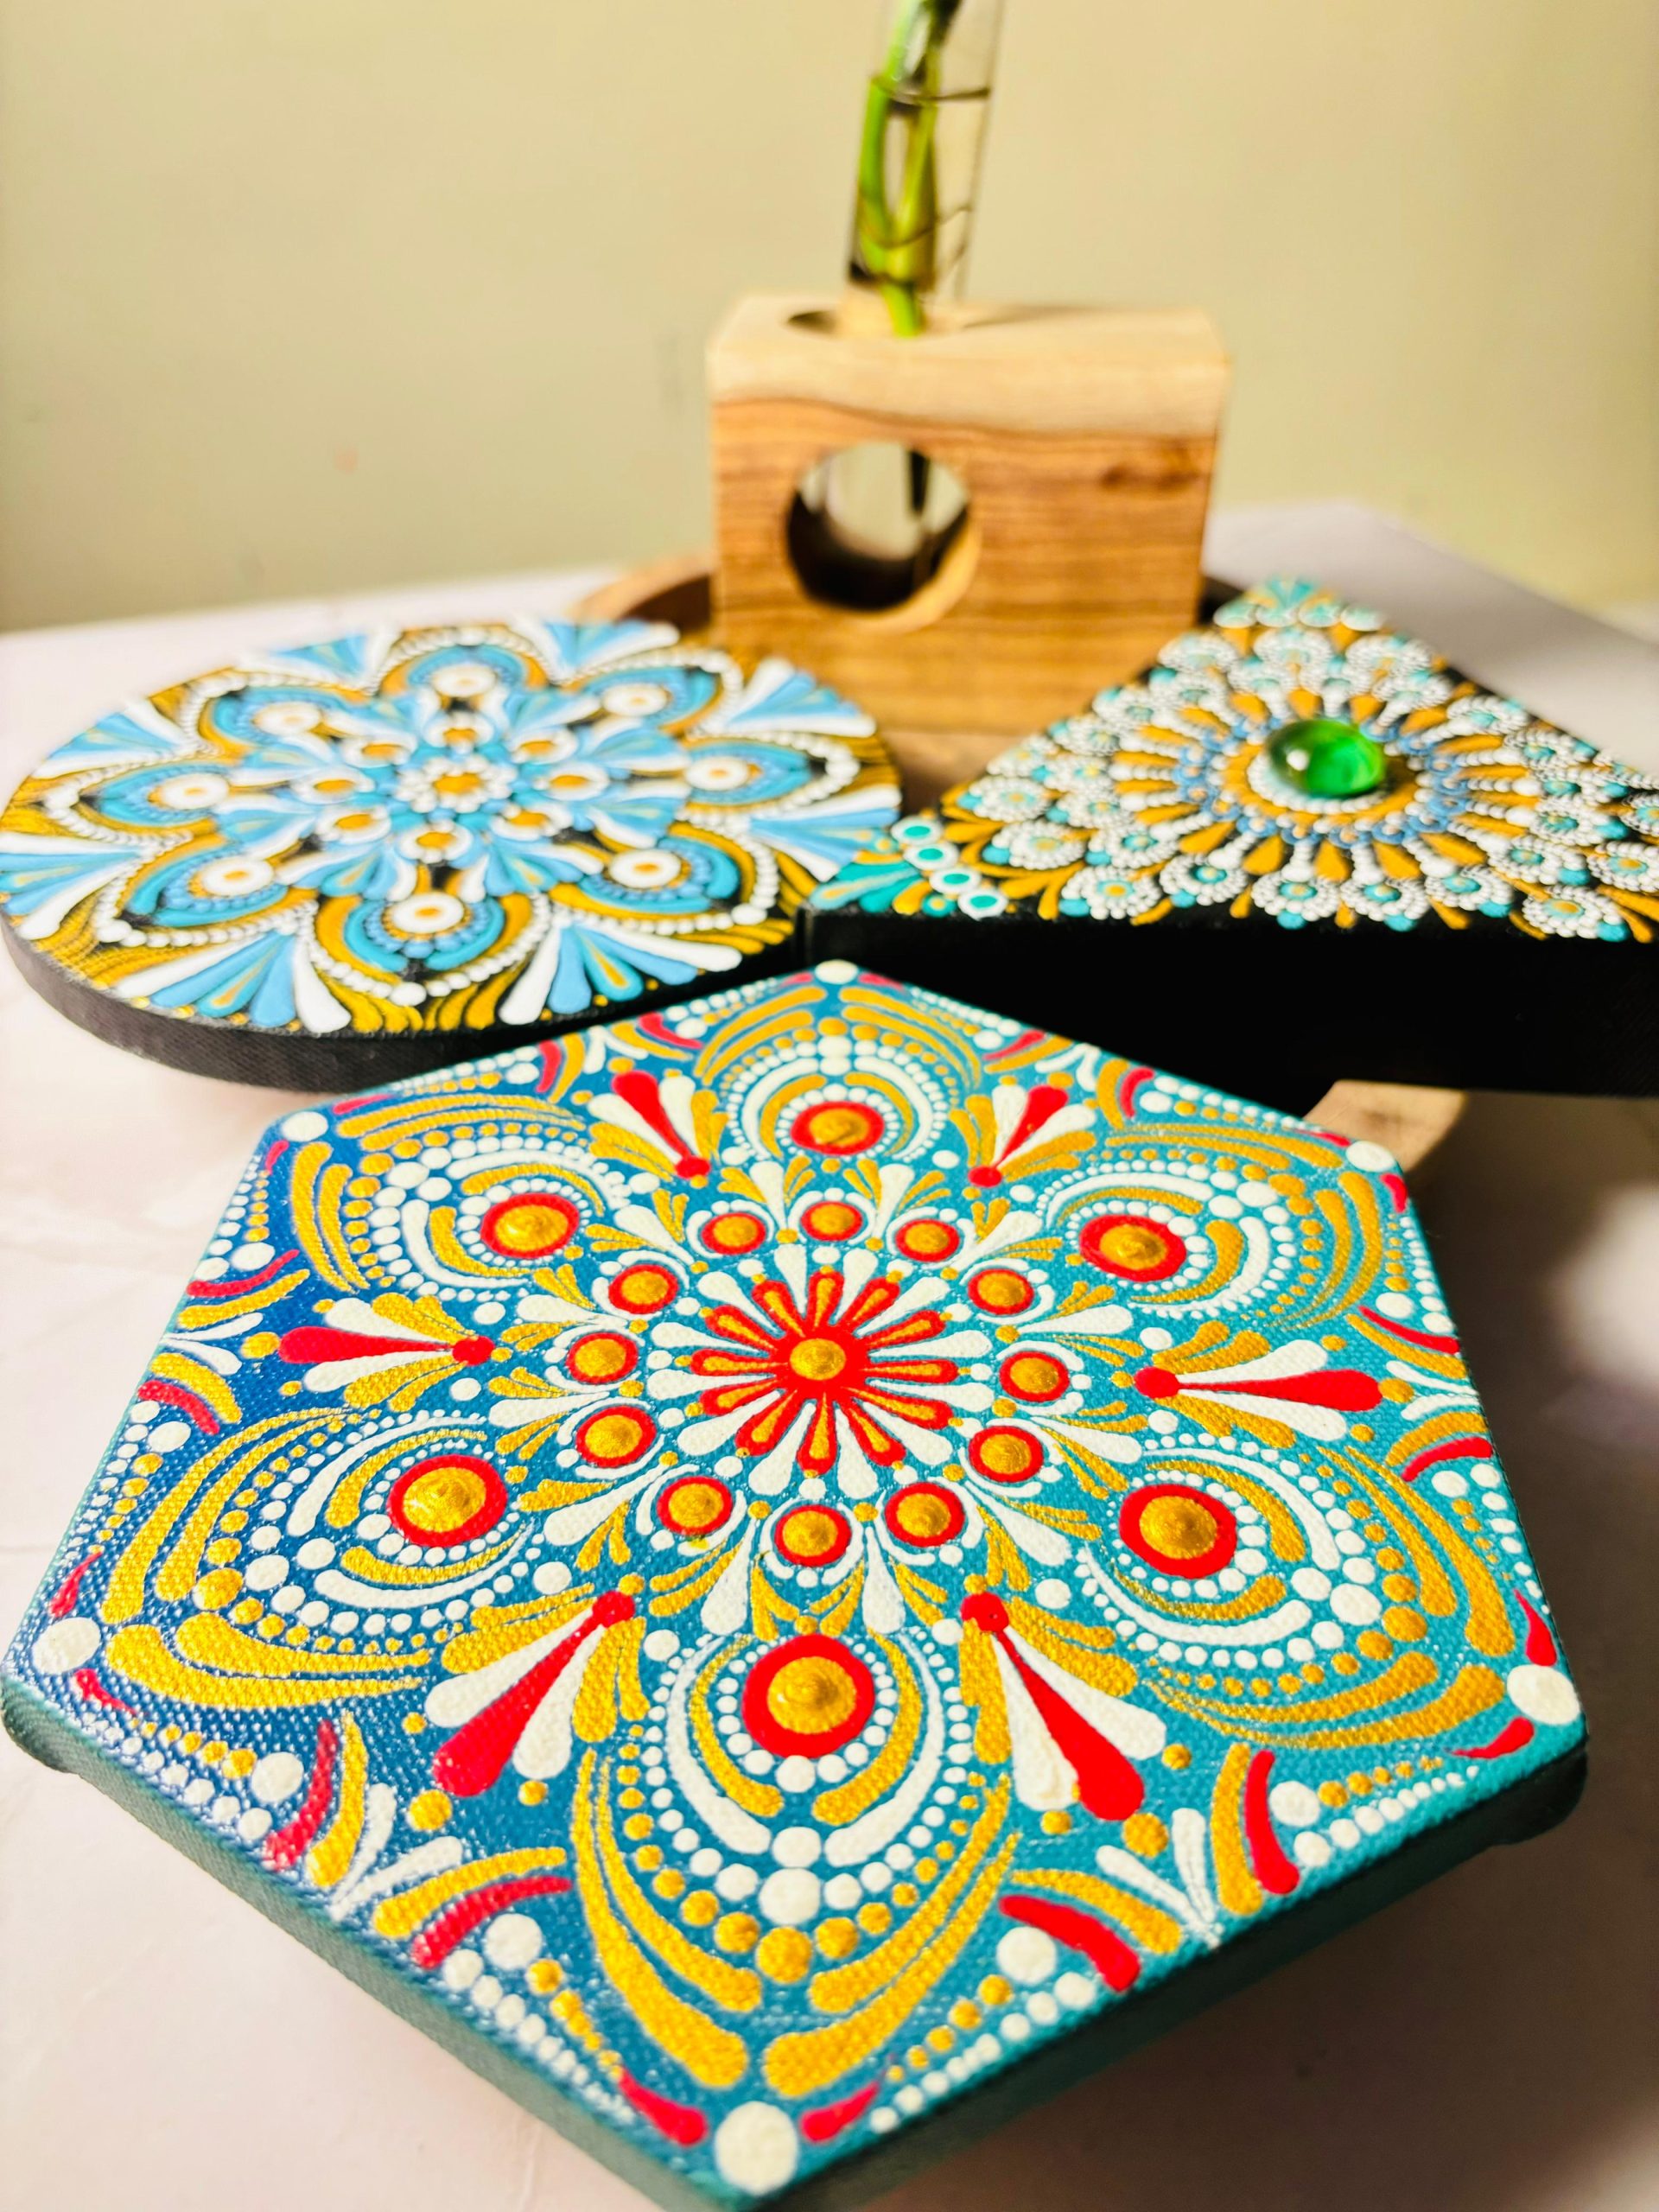
4. Create Patterns
- Combine concentric circles, spirals, and geometric shapes.
- Alternate colors and dot sizes for rhythm and flow.
5. Use Symmetry
- Dot mandalas rely heavily on symmetry for balance.
- Check your work from different angles to ensure even spacing.
6. Mind the Spacing
- Consistent spacing between dots is key to a clean design.
- For beginners, lightly mark dot placements with a pencil before painting.
7. Practice Patience
- Dot mandala painting is meditative but requires patience.
- Work slowly, one dot at a time, focusing on precision rather than speed.
Advanced Tips and Tricks
- Blending Colors: Mix paints slightly before dotting to create gradient effects.
- Textured Dots: Use different tools like brushes or cotton buds for unique textures.
- Experiment with Surfaces: Wood, stones, and even glass can give your dot mandalas a fresh look.
- Varnish for Shine: Once dry, add a clear varnish to protect and enhance colors.
Benefits of Dot Mandala Painting
- Boosts focus and concentration.
- Promotes stress relief and mindfulness.
- Encourages creativity and color experimentation.
- Produces visually stunning pieces suitable for home decor or gifts.
Painting dot mandalas is a creative and conscious journey rather than only a pastime. You may improve your artwork from basic dots to complex, captivating mandalas by using these methods and strategies. Recall that experimentation, symmetry, and patience are crucial. You’re getting closer to producing something genuinely original with every dot you add.
READ ALSO | Dot Mandala Art Therapy: Reduce Stress Through Creative Patterns