Common Texture Art Mistakes and How to Fix Them | RanggatCategoriesCreative

Common Texture Art Mistakes and How to Fix Them | Ranggat

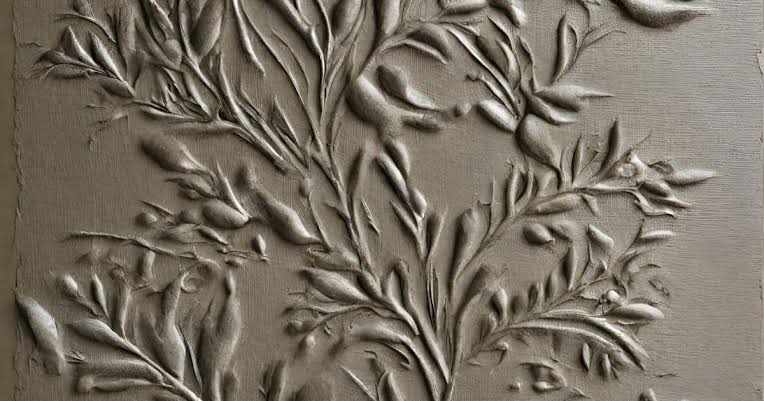
Texture art can transform a simple canvas into a beautiful, dimensional artwork. However, beginners often face issues such as uneven texture, cracks, poor adhesion, or an untidy finish. Understanding these common mistakes can help artists create smoother and more professional-looking texture paintings.

1. Applying Texture Too Thickly

One of the most common mistakes is applying a very thick layer of texture paste at once. A heavy layer may take longer to dry and can develop cracks or uneven surfaces.

How to fix it:
Apply the paste in controlled layers. Allow each layer to dry properly before adding another.

2. Using the Wrong Surface

Texture materials may not work well on every surface. A poorly prepared canvas or board can affect adhesion and the final appearance.

How to fix it:
Prepare the surface before starting. Clean it properly and use a suitable primer when required.

3. Not Allowing Enough Drying Time

Painting over texture before it is completely dry can damage the design and cause the layers to mix.

How to fix it:
Allow the texture to dry naturally and completely before adding acrylic paint or decorative details.

4. Creating Uneven Texture

Inconsistent pressure while using palette knives, brushes, or texture tools can result in an uneven finish.

How to fix it:
Practice maintaining consistent pressure and experiment with different tools to achieve the desired texture.

5. Ignoring Cracks

Small cracks can appear when texture paste is applied too thickly, dries too quickly, or is used on an unsuitable surface.

How to fix it:
Use thinner layers and provide adequate drying time. For minor cracks, gently smooth the damaged area and reapply texture.

6. Using Too Many Colors

Adding too many colors can make a textured artwork look crowded and reduce the visual impact of the texture.

How to fix it:
Choose a simple color palette and use contrasting or complementary shades to highlight the raised details.

7. Poor Tool Selection

Different texture effects require different tools. Using the wrong tool may make it difficult to create clean patterns or detailed designs.

How to fix it:
Experiment with palette knives, spatulas, combs, brushes, and other texture tools to discover which works best for your design.

8. Rushing the Finishing Process

Texture art requires patience. Rushing through drying, painting, or finishing can affect the overall quality.

How to fix it:
Work step by step and allow enough time between each stage. A patient approach helps achieve a cleaner and more durable finish.

Texture art becomes easier with practice and the right techniques. By avoiding common mistakes such as applying excessive paste, skipping surface preparation, and rushing the drying process, artists can create beautiful and long-lasting textured artworks.

With quality art materials and regular practice, your creativity can turn simple textures into impressive works of art. Ranggat offers materials that can help artists explore different painting and texture techniques with confidence.
Acrylic vs Texture Paste: What's the Difference and Which One Should You Choose?CategoriesCreative

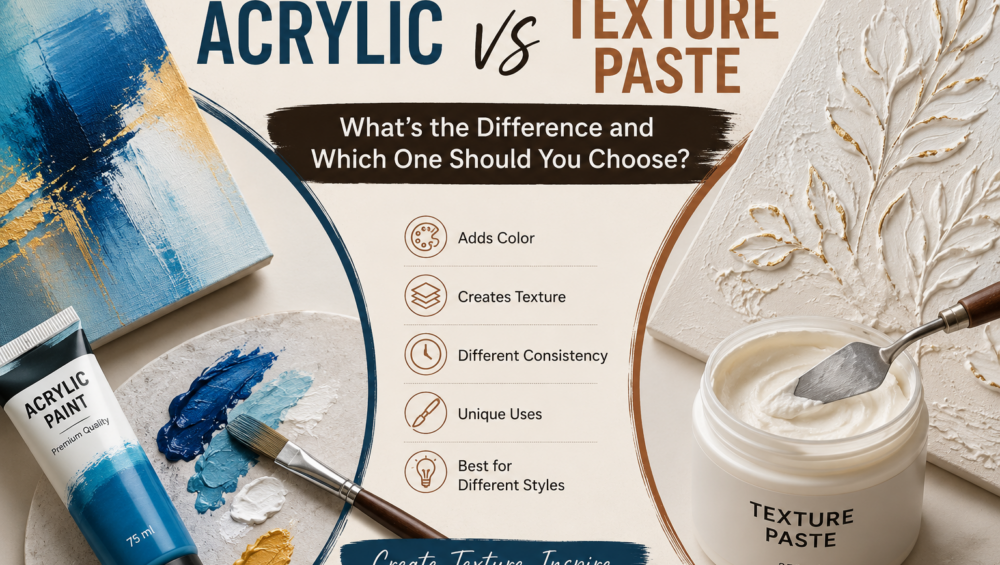
Acrylic vs Texture Paste: What’s the Difference and Which One Should You Choose?

Texture plays a big role in modern art and home décor. Whether you are creating canvas paintings, wall décor, or DIY crafts, choosing the right medium can make a huge difference. Two of the most popular options are acrylic and texture paste. While both are used in artwork, they serve different purposes.

In this guide, we’ll explain the difference between acrylic paint and texture paste in simple language, helping you choose the right one for your next creative project.

What Is Acrylic Paint?

Acrylic paint is a fast-drying, water-based paint made with acrylic polymer. It is available in many colors and is loved by artists because it is easy to use and dries quickly.

Features of Acrylic Paint

  • Available in hundreds of colors
  • Smooth and creamy texture
  • Quick drying
  • Water-resistant after drying
  • Easy to mix with other colors
  • Suitable for canvas, wood, paper, fabric, and walls

Best Uses of Acrylic Paint

  • Canvas paintings
  • Wall art
  • DIY home décor
  • Abstract paintings
  • Portraits
  • Decorative crafts

What Is Texture Paste?

Texture paste is a thick white paste used to create raised patterns and 3D effects. It is not a paint but a textured medium that adds depth and dimension to artwork.

Once the texture paste dries, it can be painted using acrylic colors.

Features of Texture Paste

  • Thick and heavy consistency
  • Creates raised designs
  • Dries into a hard surface
  • Can be shaped using palette knives and stencils
  • Perfect for 3D artwork

Best Uses of Texture Paste

  • Modern textured paintings
  • Abstract wall art
  • Floral texture art
  • Geometric designs
  • Home décor pieces

Acrylic vs Texture Paste: Key Differences

FeatureAcrylic PaintTexture Paste
PurposeAdds colorCreates texture
ConsistencySmoothThick
FinishFlat or slightly texturedRaised 3D effect
Drying TimeFastLonger than acrylic
Can Be Painted?Already coloredYes, after drying
Best ForTraditional paintingsModern textured artwork

Which One Should You Choose?

The answer depends on your project.

Choose Acrylic Paint If:

  • You want bright and vibrant colors.
  • You are creating traditional paintings.
  • You prefer smooth artwork.
  • You need quick drying.

Choose Texture Paste If:

  • You love 3D artwork.
  • You want premium wall décor.
  • You enjoy abstract and modern art.
  • You want to create unique surface designs.

Can You Use Both Together?

Absolutely!

Many professional artists first apply texture paste to create raised patterns. After it dries completely, they paint over it using acrylic colors. This combination creates stunning textured artwork with vibrant colors.

This is one of the most popular techniques used for:

  • Luxury wall décor
  • Resin-inspired art
  • Floral canvas paintings
  • Modern abstract art
  • Handmade home décor

Tips for Beginners

  • Start with a small canvas for practice.
  • Let texture paste dry completely before painting.
  • Use a palette knife instead of a brush for applying texture paste.
  • Apply acrylic paint in thin layers for better results.
  • Seal finished artwork with varnish for long-lasting protection.

Common Mistakes to Avoid

  • Painting over wet texture paste.
  • Applying very thick layers that crack while drying.
  • Using poor-quality materials.
  • Not allowing enough drying time.
  • Skipping the final protective varnish.

Frequently Asked Questions (FAQs)

1. Is texture paste the same as acrylic paint?

No. Acrylic paint adds color, while texture paste creates raised textures.

2. Can I mix acrylic paint with texture paste?

Yes. You can mix small amounts of acrylic paint into texture paste to create colored textures.

3. Which is better for beginners?

Acrylic paint is easier for beginners, while texture paste is ideal once you’re comfortable experimenting with texture.

4. Does texture paste crack?

High-quality texture paste usually does not crack if applied in thin, even layers and allowed to dry properly.

5. Can I paint over dried texture paste?

Yes. Acrylic paint works beautifully over dried texture paste.

Both acrylic paint and texture paste are excellent art materials, but they have different purposes. Acrylic paint brings your artwork to life with rich colors, while texture paste adds depth, dimension, and a premium 3D look. For the best results, many artists use them together to create eye-catching modern art.

Whether you’re a beginner or an experienced artist, understanding the difference between acrylic paint and texture paste will help you choose the right material for your creative projects and achieve beautiful, professional-looking artwork.

Ranggat brings creativity to life with handcrafted contemporary resin and textured artwork for modern homes.

Ranggat | The Process Behind Creating Premium Texture ArtworkCategoriesCreative

Ranggat | The Process Behind Creating Premium Texture Artwork

Premium texture artwork is more than just painting on a canvas—it is a layered, thoughtful, and highly skilled process that transforms simple materials into visually rich, dimensional art. At Ranggat, every textured piece is handcrafted with precision, patience, and artistic intention, ensuring each artwork becomes a statement of luxury and creativity.

Here’s a behind-the-scenes look at how premium texture artwork is created from start to finish.

1. Inspiration & Concept Development

Every artwork begins with an idea. Inspiration can come from nature, architecture, emotions, cultural patterns, or modern design trends.

Artists first define:

  • Theme of the artwork
  • Mood (calm, bold, spiritual, abstract, etc.)
  • Color direction
  • Texture style (soft, rough, layered, sculpted)

This stage sets the creative foundation for the entire piece and ensures the final artwork tells a meaningful visual story.

2. Surface Preparation

Before applying any texture, the canvas or base panel is carefully prepared.

This includes:

  • Choosing high-quality canvas or wooden board
  • Applying a primer (gesso) for smooth adhesion
  • Ensuring a strong, durable surface for layering

Proper preparation is essential because texture artwork involves heavy layering and sculptural effects.

3. Building the Texture Layers

This is the most important stage of the process.

Artists use specialized materials such as:

  • Acrylic-based texture paste
  • Modeling paste
  • Mixed mediums for depth and structure

Using tools like palette knives, spatulas, and brushes, the artist begins shaping the surface.

Techniques include:

  • Layering thick and thin textures
  • Creating raised patterns and reliefs
  • Building depth through repeated application
  • Sculpting shapes directly onto the canvas

Each layer is allowed to dry before the next is added, ensuring durability and clarity in design.

4. Sculpting & Detailing

Once the base texture is formed, artists refine the surface.

This stage focuses on:

  • Adding fine details and patterns
  • Enhancing depth and dimension
  • Balancing composition across the canvas
  • Creating visual flow and movement

This is where the artwork begins to take its final artistic identity.

5. Color Application

After the texture structure is complete, color is applied.

Depending on the design, artists may:

  • Paint after texture dries for sharp definition
  • Mix color into texture paste for integrated tones
  • Use layering techniques for gradient and shadow effects

Color enhances the texture by highlighting raised surfaces and creating contrast between light and shadow.

6. Drying & Finishing

Drying is a crucial part of the process. Each layer must set properly to maintain strength and structure.

Once fully dry, the artwork is finished with:

  • Protective varnish or coating
  • Final touch-ups for refinement
  • Quality inspection for detail and consistency

This ensures long-lasting durability and a premium finish.

The completed artwork is then framed or mounted depending on its style.

A well-presented texture artwork:

  • Enhances interior spaces instantly
  • Becomes a focal design element
  • Adds depth, luxury, and personality to walls

At Ranggat, each piece is designed to be more than décor—it is a statement of artistic expression.

Creating premium texture artwork is a balance of creativity, craftsmanship, and patience. From the initial idea to the final stroke, every step contributes to building a piece that feels alive, dimensional, and meaningful.

At Ranggat, every artwork is handcrafted with care, ensuring that no two pieces are ever the same—because true art is always unique.