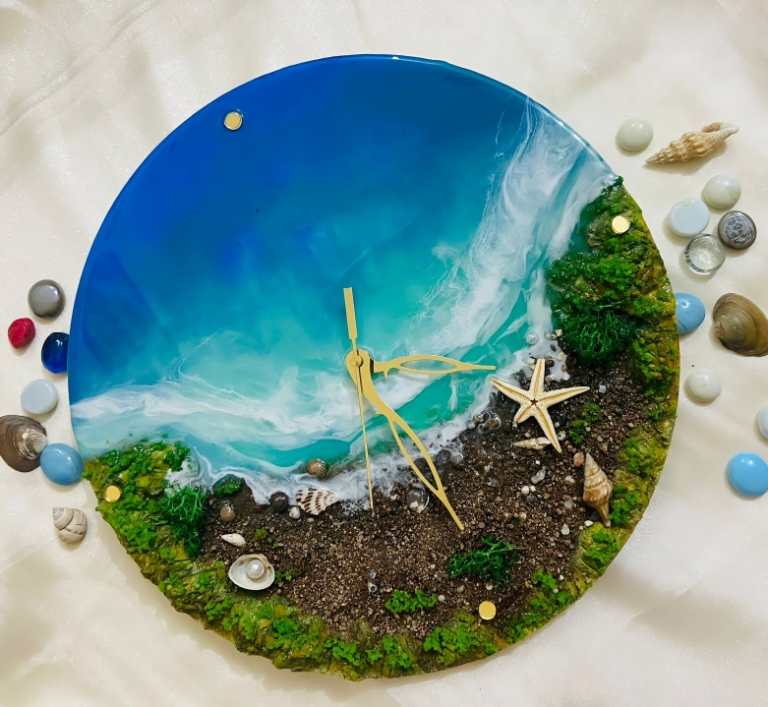
Resin art has taken the creative world by storm, captivating artists and beginners alike with its glossy, glass-like finish and endless possibilities. If you’re new to this mesmerising art form, this guide will walk you through the basics, helping you understand how to get started and create your own stunning pieces.
Resin art is a symphony of colors and textures, where each stroke tells a story.
What is Resin Art?
Epoxy resin is used in resin art; it is a two-component system made up of resin and hardener. These components combine to produce a chemical reaction that gives the surface a long-lasting, glass-like appearance. Pigments, dyes, and other materials can be utilised by artists to create a variety of effects, ranging from complex patterns to vibrant colours.
Why is Resin Art So Popular?
1) Glossy Finish: Resin art pieces have a high-gloss surface that makes them appear luxurious and professional look.
2) Durability: Resin art is perfect for jewellery, furniture, and home décor pieces because it is not only beautiful but also quite durable.
3) Versatility: The medium allows for endless creativity, whether you’re making abstract art, coasters, trays, or countertops.
Essential Supplies for Resin Art
Before diving into resin art, gather the following supplies:
- Epoxy Resin and Hardener: Choose a reputable brand known for clarity and durability.
- Mixing Cups and Sticks: Mix the paints and resin with sticks and disposable cups.
- Protective Gear: Put on goggles, a mask, and gloves to protect your skin from fumes.
- Heat Gun or Torch: Essential for removing bubbles and achieving a smooth finish.
- Silicone Molds or Canvas: Depending on your project, select the appropriate mold or surface.
Steps to Create Resin Art
1) Prepare Your Workspace: Ensure your workspace is clean, well-ventilated, and covered with a protective layer to catch any spills.
2) Mix the Resin and Hardener: Follow the manufacturer’s instructions for the correct ratio. Mix thoroughly to avoid any sticky spots.
3) Add Pigments and Effects: Once mixed, divide the resin into different cups and add your desired pigments, glitters, or other materials.
4) Pour and Manipulate: Pour the resin onto your chosen surface and use tools like sticks or heat guns to create patterns and effects.
5) Remove Bubbles: Use a heat gun or torch to eliminate any bubbles, ensuring a smooth finish.
6) Cure and Finish: Allow the resin to cure completely, usually between 24 to 72 hours. Once cured, your artwork will be hard and durable.
Tips for Beginners
- Start Small: Start with simple crafts like jewellery or coasters to gain experience with resin.
- Practice Safety: Use protective gear and always work in an area with good ventilation to avoid being exposed to harmful fumes.
- Experiment: You may find your own style by experimenting with different paints, textures, and techniques.


