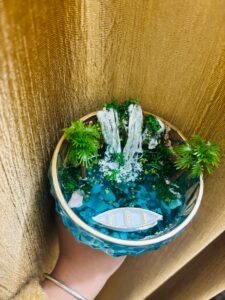
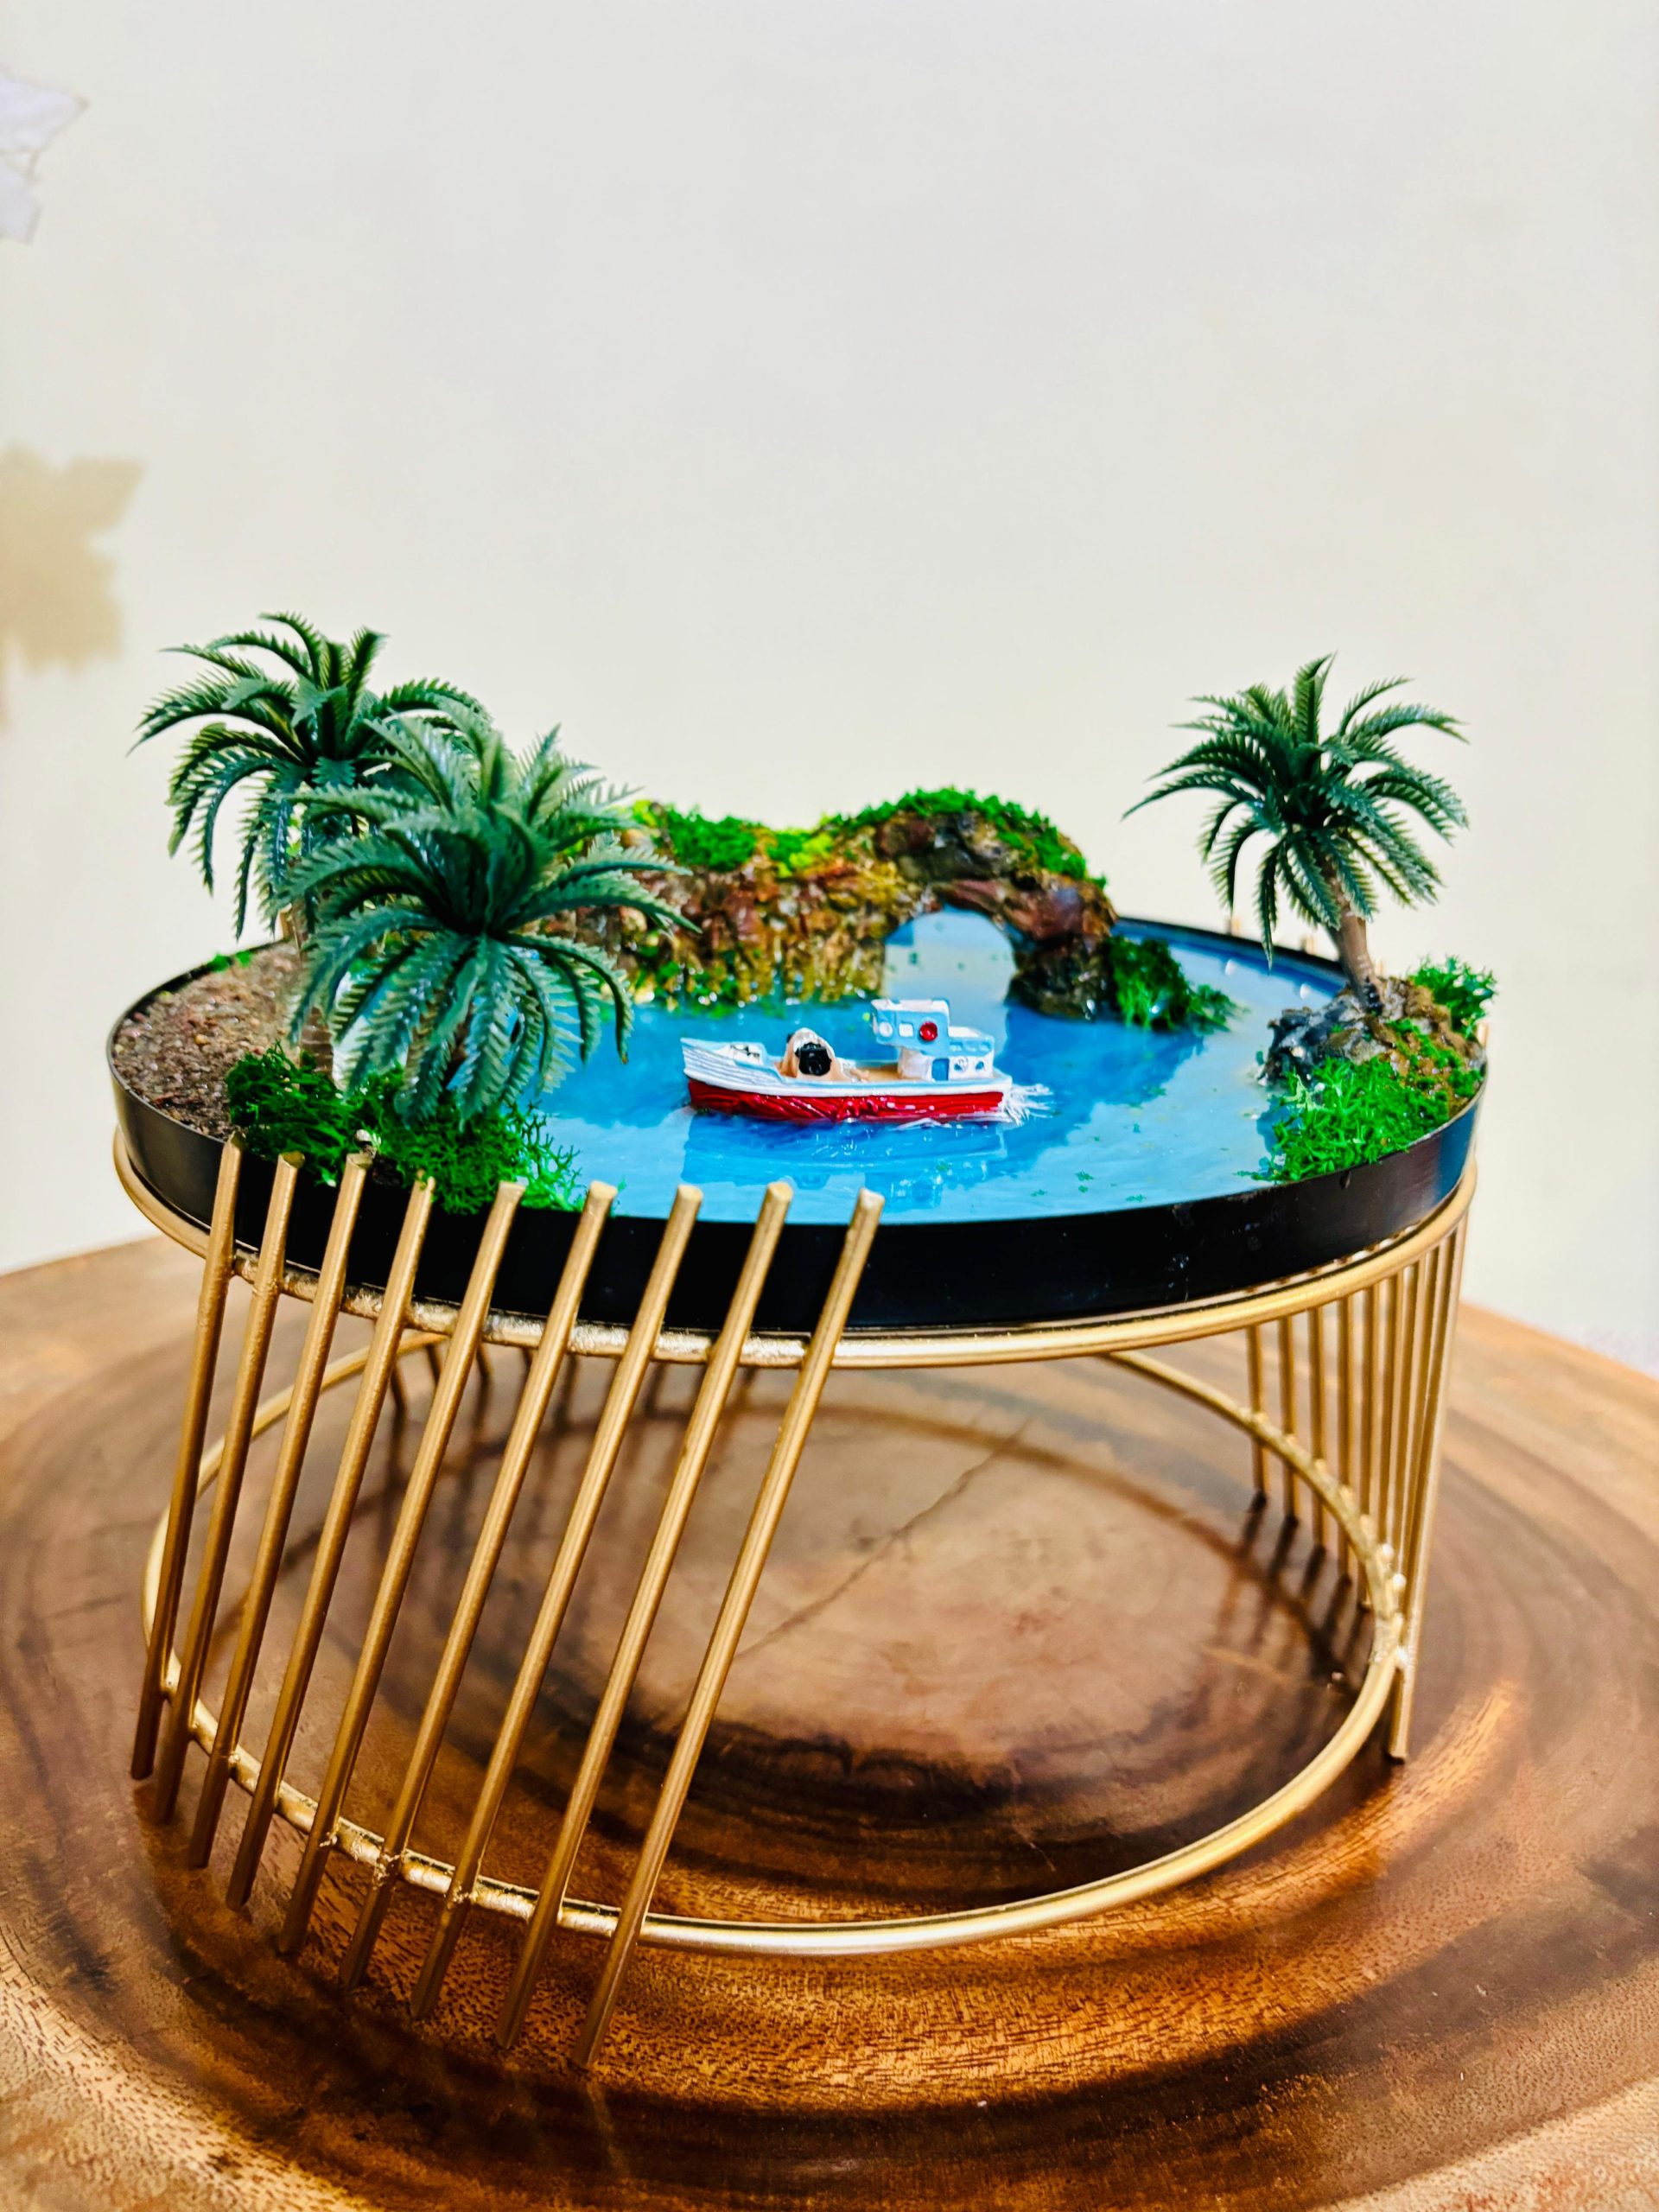
Sand beaches, waves, and underwater scenery are all shown in great detail in resin miniatures that are inspired by the ocean. These miniatures make excellent gifts or home décor. Here’s how to make resin miniatures that are inspired by the ocean.
Materials You’ll Need:
1) Epoxy resin and hardener
2) Silicone metal plate (for miniatures)
3) Resin pigments (white, blue, turquoise)
4) Sand or fine beach gravel
5) Mixing cups, stir sticks, and gloves
6) Heat gun or torch
7) Seashells, miniature marine creatures, or coral (optional)
Step 1: Prepare the Workspace
Work where there is sufficient ventilation. To prevent spills in your workspace, place a newspaper or plastic sheet down. Wear gloves and follow the safety recommendations provided by the resin maker.
Step 2: Prepare the Resin Mixture
Follow the manufacturer’s instructions when mixing the resin and hardener. It is usually a 2:1 ratio. Stir well for two to three minutes to ensure that the mixture is smooth and free of bubbles.
Step 3: Create the Base Layer
Shape the rocks that will be a part of your ocean landscape with clay. To add realism, shape the clay into different-sized, realistic-looking rock formations. Depending on the type of clay used, either let it dry or bake it once it has been shaped.
Step 4: Add Pigments for Ocean Effect
Pour the leftover resin into individual glasses and stir with Prussian blue, turquoise, ice blue, and white paints. Start with the darkest blue at the bottom and work your way up to lighter hues to provide depth.
Step 5: Layer the Resin
Starting with the darkest shade at the bottom, pour the colored resin in layers. To combine the colors a little and make wave patterns, use a toothpick or stir stick. Add some white resin to the surface and use a toothpick to make wave crests for realistic-looking waves.
Step 6: Add Embellishments
Add coral, tiny seashells, or tiny marine life into the resin. To keep them in place, gently press them down. To prevent any sharp edges, make sure the resin covers them completely.
Step 7: Cure the Resin
Give the resin at least a day to cure. For optimal results, follow the manufacturer’s recommended curing period. After the miniature has completely dried, take it out of the mold.
Step 8: Finishing Touches
Lightly sand any rough edges if necessary. You can also add a final clear resin coat to enhance the shine and give the miniature a polished look.
These instructions will help you make attractive resin ocean miniatures that add a little bit of the ocean to any room.